In This Article
Introduction to All-Grain Brewing Equipment
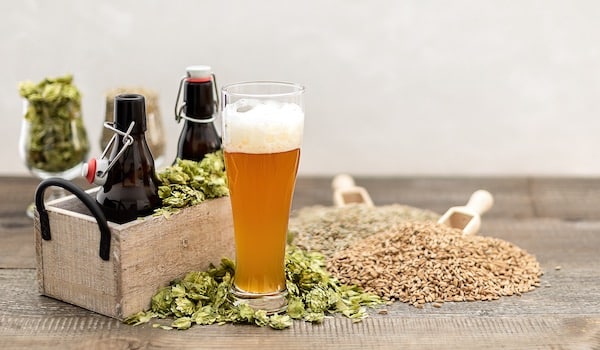
All-grain brewing is the most common form of professional brewing and the preferred method for experienced homebrewers. It differs from the simplified extract brewing commonly used by beginners and is widely considered the more authentic approach.
Instead of dissolving extracted syrups that contain the fermentable sugars of malted barley, these brewers take the traditional route by starting with the malted grains in their kernel form. There are many reasons for beginners to use extracts. But, at some point, all homebrewers find themselves leveling up their process to achieve better-tasting beer.
All-grain brewing does, however, require extra equipment and a little know-how. Here’s a rundown of what you’ll need:
Basic All-Grain Brewing Equipment Checklist
- Large kettle: This is hardly specific to all-grain brewing, but a large (8+ gallons) kettle is needed to handle the full pre-boil volume.
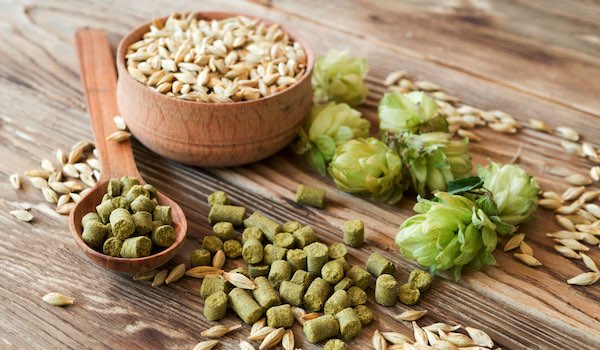
- Grain mill (optional): This is specifically designed for all-grain brewing, but not necessary. This will crush the malt grain kernels, allowing them to be turned into grist and combined with hot water.
- Mash tun: A vessel used in all-grain brewing to hold the ground malt (or grist) and hot water. These are tasked with maintaining the temperature of the mash during the mashing process.
- Lauter system: The process of separating sweet wort (the sugary liquid that will become beer) from the spent grains is drained via a filtration system in the mash tun, where wort is drained. Sparging, which rinses the grains to extract more sugars, is often done automatically (via sparge arm) or manually with a watering can.
- Brew in a bag (BIAB) lautering system: This process involves the grain being steeped in a large mesh bag inside a single kettle. It’s a simplified method of the traditional all-grain process. You’ll need “the bag,” however. More on that below…
- Heat source: Propane burners or even stoves heat strike water and boil wort. You want something that can maintain consistent temperatures.
- Fermenter: These vessels (either bucket or carboy) are fitted with airlocks.
- Wort chiller: Immersion, plate, or counterflow chillers quickly cool boiled wort.
- Thermometer: Should be accurate and fast-reading, as monitoring mash, sparge, and boil temperatures is massively important.
- Hydrometer or refractometer: These gadgets measure gravity (sugar content) before and after fermentation.
- Sanitizer: Products like Star San or Iodophor sanitize all post-boil equipment. You’ll also need basic cleaning brushes and tools for deep-cleaning carboys and tubing. Just make sure anything you use is food-grade.
- Paddle or spoon: You will also need a large paddle to stir the mash. Picking the right mash paddle may seem easy, but you’ll want to pick a paddle that won’t absorb more heat from the mash.
Choosing Your Brewing Method: BIAB vs 3-Vessel
BIAB (Brewing in a Bag) is a simplified all-grain method that eliminates the need for a separate mash tun or sparging system. Brewers simply mash grains inside a mesh bag in a single kettle, then lift the bag out after the mash is complete.
The traditional setup involves three separate vessels: a hot liquor tank (HLT) that heats sparge water, a mash tun is used for mashing grains, and a boil kettle boils the wort.
| Method | BIAB | 3-Vessel System |
|---|---|---|
| Estimated Cost | $150–$300 | $400–$1,000 |
| Footprint | Smaller | Larger |
| Pros | Simpler and faster Less equipment to clean Easier for beginners | Higher efficiency (less grain needed) More control over mash and sparge temperatures Scales better for larger batches Closer to professional brewery setups |
| Cons | Lifting a heavy grain bag can be awkward (especially >10 lbs) Lower efficiency (you may need more grain per recipe) Limited batch sizes (due to kettle space) Less precise temp control during mash | More equipment = more cleaning and space Steeper learning curve Longer brew days |
Equipment Breakdown by Function
Mashing Gear
There are two types of setups:
Brew-in-a-Bag (BIAB)
This is the simpler option and requires:
- Large kettle that holds 8–10+ gallons (needs to hold mash and boil volume)
- Mesh grain bag: The Bag needs to be food-grade, heat-resistant. Nylon and polyester are the most common.
- A pulley or lift system (optional) helps raise the heavy grain bag.
- A propane burner or a powerful electric heating element is used for heating the mash.
- Mash paddles are used for stirring mash and preventing clumps.
- Thermometers for measuring heat are available in digital or dial-type models.
3-Vessel System Setup
The more involved but accurate option includes:
- Mash tun: An insulated container (like a converted cooler or dedicated vessel) is needed to house the mash, which is the initial combination of ground malt and hot water. The vessel needs a false bottom or a manifold to hold grain and water during the mash.
- A hot liquor tank (HLT) heats and stores sparge water.
- An 8–10 gallon boil kettle with a ball valve and volume markings.
- Valves, tubes, and clamps allow for the safe transfer of hot liquids.
- A sparge arm or wand for gentle water distribution (suitable for fly sparging only).
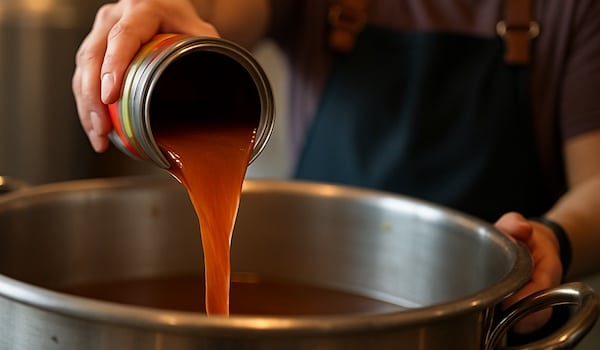
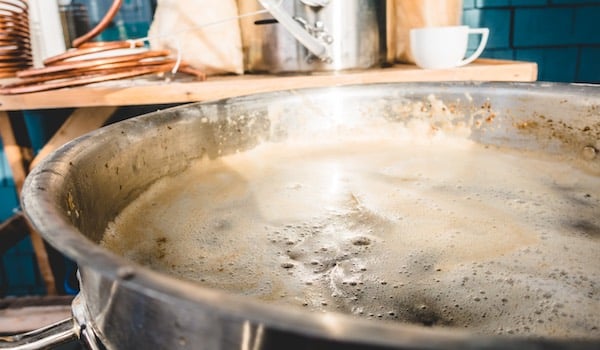
Boiling Gear
- Boil Kettle (if not shared with mash): Kettle size recommendations. Stainless steel or aluminum with a lid and spigot.
- Heat sources: A propane burner or an electric system to maintain a rolling boil.
- Gear for adding hops: Hop spider or mesh ball (optional, for pellet hops). A timer or brewing software for scheduling hop additions.
Cooling Gear
- Immersion Chiller: Coils are submerged in the wort with cold water flowing through them.
- Counterflow or Plate Chiller: More efficient for large batches.
- Thermometer: For checking wort temperature post-chill before pitching yeast.
Fermentation Gear
- Bucket or carboy: The two options for a fermentation vessel each have pros and cons. Buckets are preferred for primary fermentation due to their larger opening. At the same time, carboys are often favored for secondary fermentation and aging due to their lower oxygen permeability and ability to minimize headspace. Buckets are the preferred option for beginners!
- Airlocks: Keeping the fermentation vessel airtight is massively important! You can opt for S-type or 3-piece airlocks along with rubber stoppers to seal the fermenter.
- Thermometer: Monitoring and controlling fermentation temperature (consistency is key) provides better results.
Upgrades and Nice-to-Haves
There will always be bells and whistles on a brewer’s wishlist. Here are a few key pieces of equipment for all-grain brewing:
- Grain mill (optional): If you’ve tried all-grain brewing and are committed, consider investing in a grain mill to crush the grains yourself. Most homeowners stick to buying pre-crushed malt grains, but this can make brewing more cost-effective in the long run.
- Pump: These are used (but not necessary) for transferring beer between kettles, creating a whirlpool for hot wort. Every single commercial brewery has this, but most homebrewing operations won’t reach that point. Magnetic-driven brewery pumps that are gravity-fed are somewhat common in larger homebrewing setups.
- pH meter: Measuring the acidity or alkalinity (pH) of liquids like mash, wort, and the actual beer is highly useful in a consistent brewing process. Maintaining the correct pH at each stage is crucial for optimal enzyme activity, yeast health, and the overall quality of your output.
- Temperature controller: A digital temperature controller can make consistent heating or chilling much easier.
- Sight glass: A window on the side of a brewing vessel allows you to check the volume level. This is especially useful in checking kettle volume before and after boiling.
Budget-Friendly vs Premium Options
| Setup Level | Cost Range | Equipment Type | Brew Size |
|---|---|---|---|
| Beginner (BIAB) | $150–$250 | Single pot + bag | 5 gal |
| Intermediate | $300–$600 | Cooler mash tun, kettle | 5–10 gal |
| Advanced | $800+ | 3-vessel, pumps, chillers | 10+ gal |
Final Thoughts
It’s important not to get discouraged with early results or overreact with all-grain brewing. You can make exceptional beers with even the most basic tools, so there’s no reason to go ahead and take out a second mortgage in order to buy the most expensive tools out there.
So, no matter where you are in your brewing journey, continually learning and having fun will yield the best brewing results!