Some links may be affiliate links. We may earn a commission at no extra cost to you, which helps support the site.
Introduction
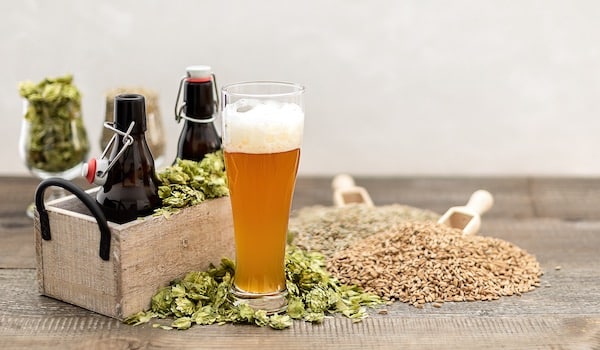
So you think you’re ready to brew? The first day of a homebrewer’s journey can be daunting. There are a ton of variables that go into crafting the perfect beer. First, you might want to adjust expectations. It’s unlikely you’ll come up with Pliny the Elder or Sierra Nevada Pale Ale on your first go, but that doesn’t mean your first foray into making beer can’t be a modest triumph.
How well you do will depend on how prepared you are, so doing your research and carefully planning each step is how you set yourself up for success. Here are a few tips for starting out:
Why Getting the Basics Right Matters in Home Brewing
You don’t need to be an expert brewer in order to achieve decent results early on, but that does require understanding the basics and executing them. If anything, starting off with good habits will make your brewing journey all the more successful. There will certainly be a learning curve, and it could be steep depending on how familiar you are with the brewing process. Just know that there are good reasons (backed by science) for brewing best practices, so make sure to keep them in mind with every decision!
1. Start With an Extract Brewing Kit
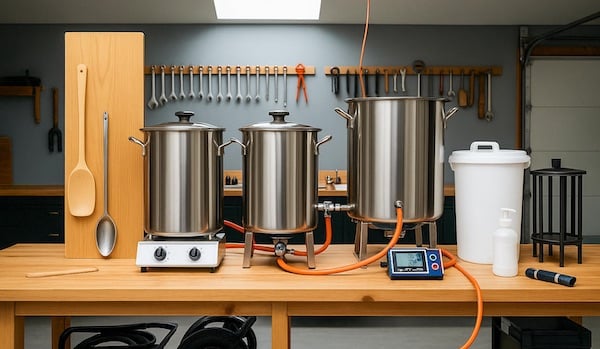
Making an informed decision on how to start your homebrew operation is one of the most important factors that determines early success. There are countless equipment choices you can make, but keeping it simple with an extract brewing kit is one of the best ways to get your feet wet. Most kits are separated into the extract or all-grain brewing categories. Opting for an extract brewing kit is a solid option for beginners for many reasons.
Why Extract Brewing Is Ideal for Beginners
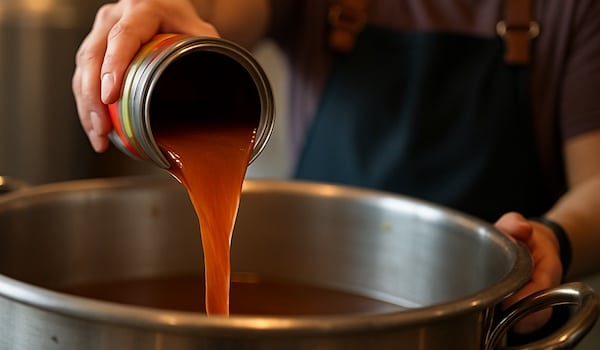
Most kits are separated into the extract or all-grain brewing categories. Opting for an extract brewing kit is a solid option for beginners for many reasons. There is significantly less margin for error, as you’re taking the complicated mashing process out of the equation. These kits tend to be less expensive and much easier to use. Most importantly, you’re still learning essential brewing skills like sanitation, fermentation control, and timing.
Recommended Extract Brewing Kits for Beginners
- Northern Brewer – Brew. Share. Enjoy. Kit: This expansive starter kit has enough features that beginners can advance their skillset without needing to upgrade to a larger kit. It’s still simple enough for newbies!
- Mr. Beer – Craft Beer Kit: While it may seem overly basic, Mr. Beer has turned more serious brewers onto the craft than anyother kit. It’s simple and small, so you can brew out of an apartment, and it’s highly affordable for a first-timer.
- BrewDemon – Premium Kit: If you know you’re going to be brewing for the long haul but have limited space, this highly compact kit offers excellent fermentation control for tackling different recipes and beer styles.
For a full breakdown of what’s included in each of these kits—and which one makes the most sense for your needs and budget—check out our detailed guide to the Best Home Brew Kits for Beginners.
2. Cleanliness Matters More Than Fancy Equipment
Why Sanitation Beats Gear Every Time
Even if you have all the knowledge in the world and a cutting-edge brewing setup, contamination can destroy even the best recipes. Poor sanitation is the primary cause of contamination, which leads to off-flavours and dumped batches. Clean equipment and facilities are brewing’s non-negotiables, so make sure to implement strict cleaning standards from the start!
Common Contamination Causes:
- Poor Sanitation: Dirty draft lines, fermenters, and hoses.
- Raw Materials: Malt and grains can introduce bacteria if they’re not stored properly.
- Oxygen Exposure: Oxidation improperly introduced to the fermenter can cause cardboard or papery flavors.
- Yeast Management: Re-pitching yeast from a previously infected batch is a no-no, as is neglecting to keep your yeast healthy.
What Needs to Be Sanitized? Essentially anything that touches the beer after the boil, including:
- Fermenter
- Airlock and stopper
- Siphon and tubing
- Hydrometer and test jar
- Bottling bucket
- Bottles and caps
- Spoons, funnels, strainers
Best Sanitizers for Beginners:
- Star San: This product is by far the most popular option because it offers a no-rinse process that works in 30 seconds. The foam is harmless, so don’t worry about the bubbles!
- Iodophor: Another no-rinse product, you’ll need to dilute Iodophor properly to activate it. It will turn brown when active.
3. Control Fermentation Temperature
How Temperature Affects Yeast and Flavor
Temperature matters in several steps in the brewing process, but it impacts fermentation most of all. Yeast needs to behave a certain way, and controlling the environment (temperature) is a great way to optimize how it converts sugars into alcohol. Too hot, and the yeast will give you unpleasant alcohol heat and solvent-like off-flavors. If it’s not heated properly, the colder fermentation temps will slow or even prevent fermentation from happening.
Simple Temperature Control Tips for Beginners
- The setting matters! Opt for cooler rooms or water baths. Keep your fermenters out of direct sunlight and away from heat sources like radiators.
- The majority of ale yeasts perform best between 65–72°F (18–22°C), while lager yeast strains thrive in cooler temperatures between 48–55°F (9–13°C).
- Stable temperature throughout the fermentation process matters as much or even more than hitting that exact number. Any big swings in temperature stress yeast and prevent it from doing its job.
4. Follow the Recipe Exactly (At First)
Why Brewing Isn’t the Time to Experiment—Yet
Aside from making sure everything is clean, the #1 piece of advice new brewers should heed is sticking to the recipe! You won’t have the knowledge or experience to start getting creative, so you might as well follow each and every step of the recipe. This includes everything from the specific ingredients to the temperatures recommended for fermentation. Once you have a few batchesunder your belt and you feel like you know which variables you can tweak, then you can get creative.
5. Don’t Panic If You See Bubbles
What Airlock Activity Really Means
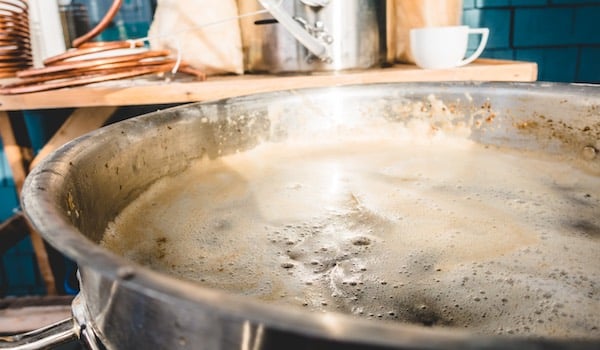
Airlock activity is a visual sign in fermentation that carbon dioxide is being produced. As the yeast consumes sugars, pressure from CO₂ builds and escapes through the airlock. You’ll start to see bubbles while outside air is prevented from entering. Look for active bubbling to start within 12–48 hours after pitching yeast. And don’t panic when you start to see bubbling!
If you don’t see bubbling or airlock activity, don’t despair. Fermentation might still be happening, but you should use hydrometer readings taken over several days to confirm fermentation iscomplete
6. Don’t Rush Fermentation
Why Time Improves Beer Quality
You’ve put all this work in, and now you have to wait several weeks to taste your beer? Brewing requires patience, as the fermentation process requires ample time for the yeast to fully convert sugars into alcohol, along with cleaning up the byproducts it creates. If you rush the fermentation process and skip right to packaging, you’re going to end up with underdeveloped beer filled with off-flavors. Even worse, you could have dangerously overcarbonated bottles and find yourself cleaning up wasted beer from your garage floor… allow the fermentation process to complete so that the beer’s flavors are fully developed, and you have a clear and safely carbonated product. Don’t worry, it’ll be worth the wait!
7. Keep Detailed Brewing Notes
How Notes Help You Brew Better Beer
If you don’t record the many brewing variables, you won’t be able to pinpoint what went wrong when one of your first batches inevitably comes up short. Keeping detailed logs of ingredients used, gravity readings, temperatures, and other valuable information is imperative for growing as a brewer.
What to Record:
- Recipe & Ingredients: Take detailed notes on malt, yeast, and hops. This can include the type, amount, lot number, and harvest year.
- Water & Mash: Measure water volume (pre-boil), pH levels, and mash temperature.
- Gravity Readings: Original Gravity (OG) and Final Gravity (FG) readings will calculate alcohol by volume.
- Fermentation: Keep a log of the daily temperature, fermentation progression, and yeast health.
- Timeline: Carefully organize by dates for brew day, yeast pitch, secondary transfer (if used), and bottling/kegging. It’s good to have a full schedule before you begin!
- Packaging: Measure the amount of priming sugar used for bottling and final package volume.
- Tasting Notes: Once the beer is ready, sample and record observations on color, aroma, flavor, and mouthfeel after conditioning.
Tools for Tracking:
- Physical Journal: Keep a dedicated (preferably water-resistant) notebook on hand for in-the-moment notes. It’s also a good way to capture potential recipes when inspiration strikes.
- Software/Apps: Use tools like BeerSmith or Brewer’s Friend to calculate and store recipes.
- Labels: You can use something as simple as masking tape to label fermenters and bottles to track batch names, numbers, and dates.
8. Be Patient and Enjoy the Process
Why Every Batch Makes You a Better Brewer
Didn’t get the results you were hoping for? That puts it in the same category as just about every brewer on the planet. Your early attempts might have off-flavors or underwhelming results, but this shouldn’t discourage you from trying again. Patience is one of the most important virtues a brewer can have, and not just because fermentation can take a while. Keep a positive attitude, focus on the process, and make sure you’re learning from every batch. The results will come around eventually!
Final Thoughts: Your First Brew Is Just the Beginning
Once you’ve tasted that first batch of homebrew, all the effort will seem worth it. But before those first sips, you’ll need to actually make the beer. It always helps to start simple, research and focus on the fundamentals, and know your beginner brew kit will do just fine. You can always upgrade later!
What kit did you start brewing with—or which one are you considering? Let us know in the comments.
Sticking with it? For beginner brewing guides, recipes, and gear tips, join our newsletter below!